
English Arrow Bag
By Lord Thomas Boardmakere
An English bowmen without arrows is just a guy holding a bent stick. The ability to rapidly shoot arrows is what turns that bent stick into a weapon however the archer is faced with the challenge of how to carry those arrows onto the field.
The average English bowmen was a working class solider. They needed affordable and robust kit that can be carried on campaigns, mostly conducted on foot. During this time they would be living in camping conditions and could expect inclement weather; arrows needed to be kept in good condition to be effective against an enemy.
One solution used by the English bowmen through the 15th to 16th century was the cloth arrow bag.
In the following build I will attempt to recreate one with these arrow bags from historical sources. Any material or construction choices that aren’t made clear in the sources will be made using the historical context and design criteria to keep the build on track.
The design criteria is analogous to that of a magazine for a modern rifle in that it needs to:
- Reliably and safely hold the ammunition during the violence of combat;
- Dispense ammunition rapidly;
- Be wearable/lightweight;
- Be somewhat weather proof;
- Hold a decent amount of ammunition;
- Be sturdy and puncture resistant;
- Be made from affordable materials.
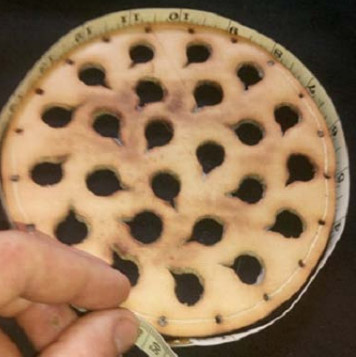
LEATHER SPACER
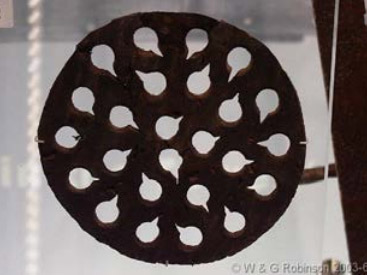
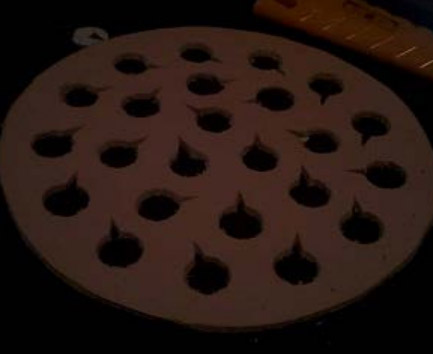
The first component of the arrow bag is the leather disc spacer based off finds from the 15th century and the Mary rose. The spacer plays several roles, first of which is keeping the arrows from falling out and preventing the feathers being crushedbut allowing the arrows to be smoothly draw from the quiver. The added organisation it gives also make it easier to grip the top of an arrow blindly. Most spaces found holds a standard 2 dozen arrows which is a reasonable amount of shots before refilling and allows for quickly telling how many are left at a glance. (a dozen being a standard metric at the time.
Tools needed
Hole punchs 4mm and 17mm, razor blade, scribe, saucepan and water dish
Materials
3.5mm leather, paper, water, leather conditoner
Step 1
Using existing template created by Nick Birmingham the pattern for the spacer was layed out on a piece of 3.5mm veg tan leather and cut with a razor blade. The pattern was cut over-sized to allow for shrinkage during the hardening process. The outer diameter is 175mm and the internal diamter of each hole is 17mm.
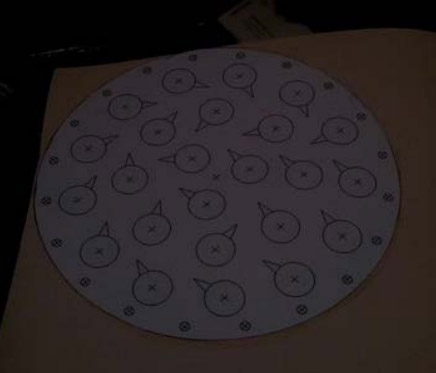
Note: The small cut out Vs appear on the c15th find but not on the Mary Rose finds. I decided to include them because they prevent the spacers from binding on the arrow as much when it’s drawn from the quiver.
Step 2
A groove was added to allow stitching to the fabric as seen in the Mary Rose find.
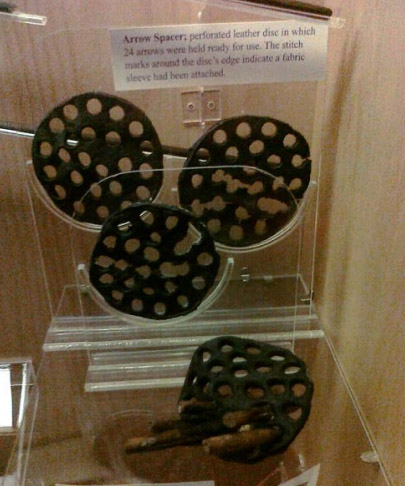
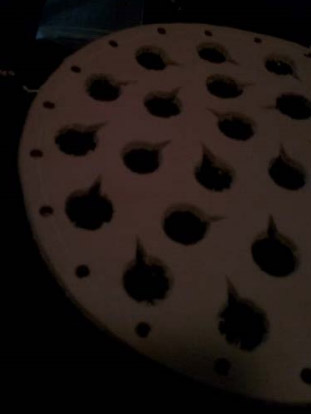
Note: The twenty-two 4mm stitch holes I punched in the outer ring of my disc are somewhat more generous in size than the stitch line that can only just be made out in the magnified photo below. They appear to have just been done with an awl.
Step 3
At this stage the spacer was quite floppy from having so much material removed and needed to be water hardened.
The spacer was placed in room tempure water for 10 minutes then submerged in 81 degree water for about 60 seconds at which point it had shrunk the desired amount and just before it began to deform.
Once removed from the hot water it was immediately placed between two heavy surfaces to allow it to cool flat. After cooling it was dried on a rack.
After drying it was treated with a mixer of bees wax, oil and tallow (dubbin) as water proofing and to prevent cracking through over dryness.
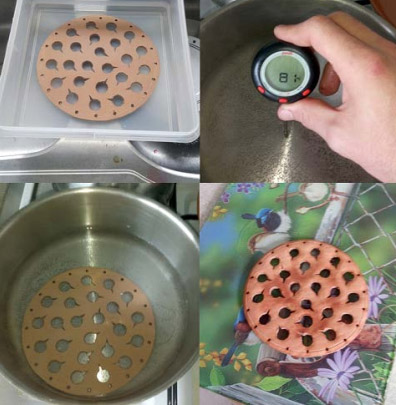
After shrinkage the external diameter at 155mm and the average diameter at 14mm which neatly holds a standard 12.5mm (1/2inch) war arrow.
CLOTH BAG
Now that the leather spacer if finished the next step is to decide on the material outer covering.
During my research I could not find an example of an original arrow bag from the time period so I relied on educated guess work using period art, material culture of 15th/16th century England and the design criteria to create a functional approximatioEn
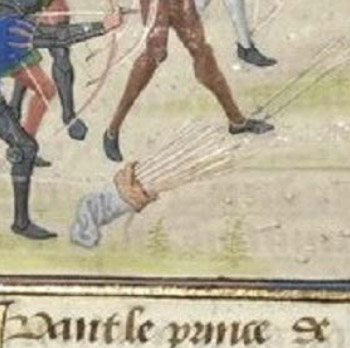
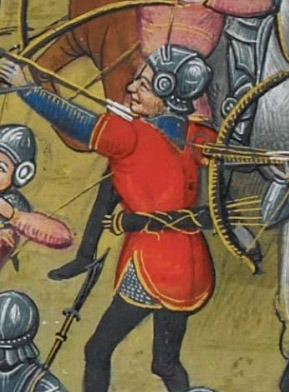
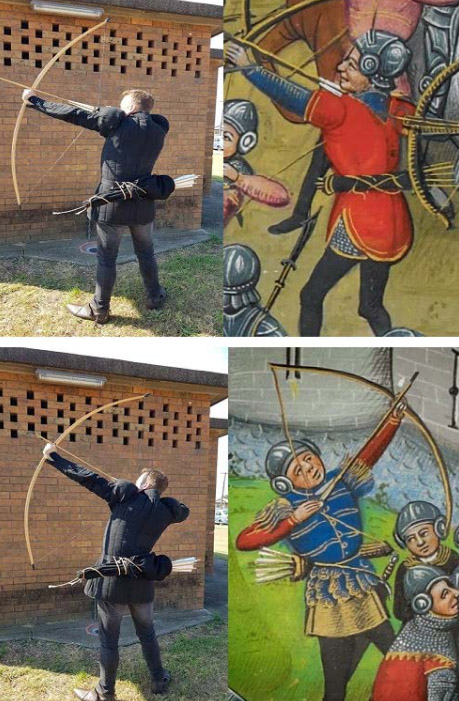
For the aesthetic appearance of the bag I used the following depiction of an English archer found in the Froissart’s Chronicles written by Jean Froissart in the 14thC chronicling the hundred year’s war.
Using the illumination as a visual starting point I turned to the choice of construction material. Fabric of the time period was far more limited in selection and had a much higher production cost than is commonly experienced today. The fabric options available to the 15th/16th century bowman would have been Linen, Wool, Silk, Hemp, Cotton, Leather, and fur/pelt.
I have chosen Wool as I believe it best fits the criteria as most affordable, being water resistant, and light while still being sturdy enough to prevent the arrows punching the bag.
Materials needed
Woollen fabric, linen thread.
Tools needed
Scissors, tape measure, tailors chalk, large gauge needle.
Step 1
Measuring and cutting material
The circumference of the spacer disc will determine the width of material needed.
The diameter of this particular disc turned out to be 50cm but this will vary depending on the amount of shrinking that happens during hardening.
50cm + 2×2.5 cm for seams + 10cm overlap = 65 cm
A 32inch (80cm) arrow will determine the length of the bag.
80cm arrow + 2×2.5cm for seams + 15cm of expansions in top for fletching + 2x5cm for draw string channel =110cm total length.
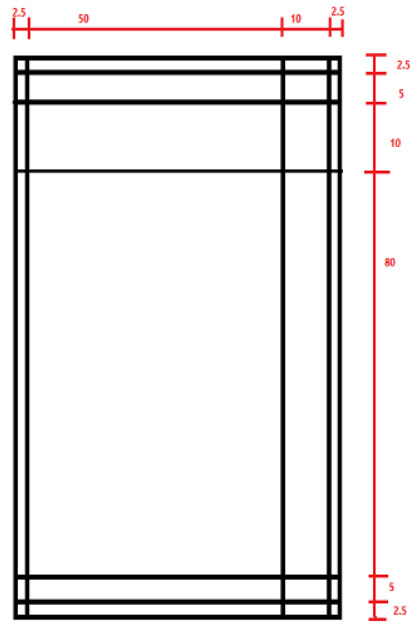
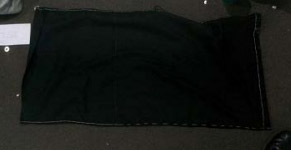
With a sharp pair of scissors the wool was cut to a size (L110xW65)
Step 2
The fabric was folded twice widthways and a long running stitch was sewn toward the end and continued in the reverse to create something similar to a saddle stitch, leaving a loop of fabric in the end to run the drawstring through.
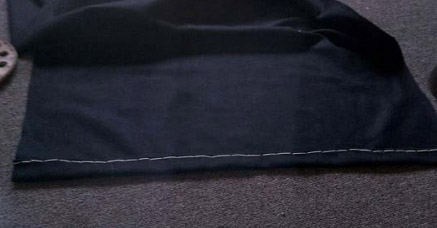
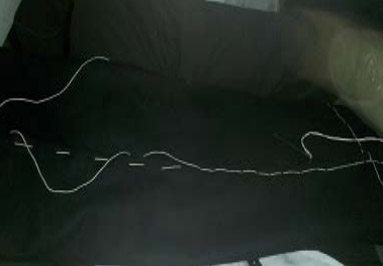
Step 3
A similar stitch was then sewn into the hem on one of the long edges.
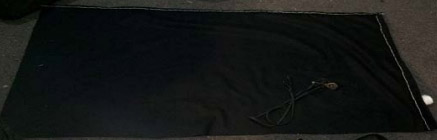
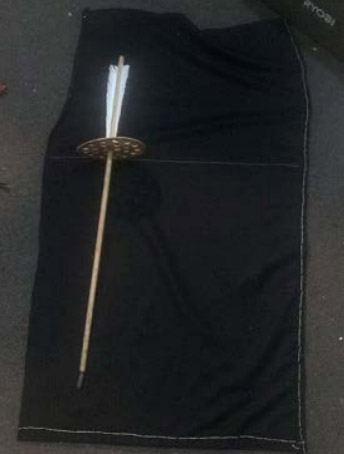
Step 4
The spacer disk was then placed on the fabric to determine its placement in the quiver and a line drawn in tailor’s chalk to mark that place.
Step 5
A stitch was sewn up the length of the other long edge, doubling over the stitching above the line, leaving below the line room to sew the overlap.
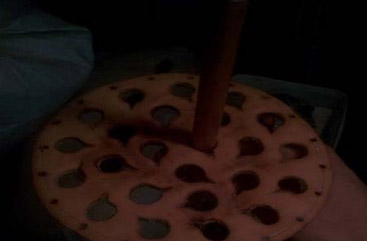
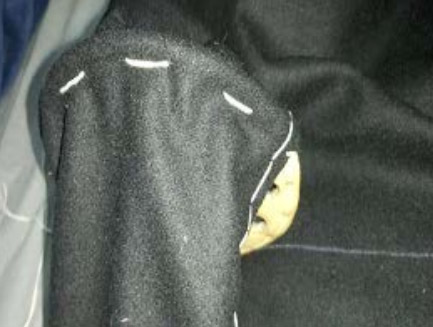
Step 6
The fabric was then stitched to the spacer as pictured below.

Step 7
The remaining side seam was then sewn together.
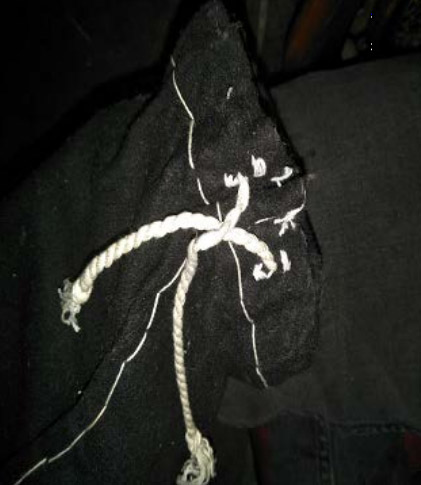
Step 8
A tab was added on the bag outside the spacer to attach the suspension cord.
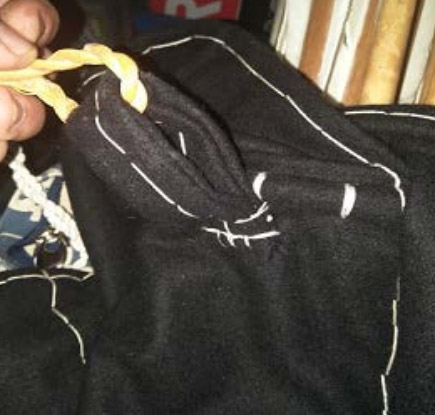
Step 9
A loop was then made along the top edge of the bag, sewn together to create another loop for a drawstring.

Step 10
Drawstrings were installed. See later section for details on construction of drawstrings. The bottom drawstring required some reinforced holes.
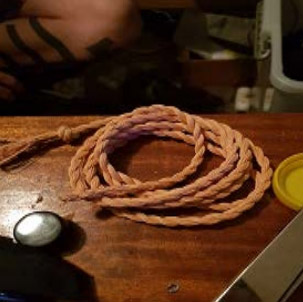
MAKING THE DRAWSTRINGS
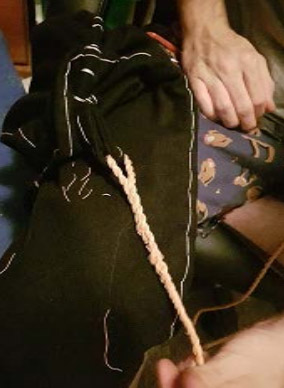
The cords used for the drawstrings are made with linen thread using the “Flemish Twist” technique. This is a reverse-twisted string with a loop spliced into the end, which is a very common traditional method of making bowstrings in Europe.
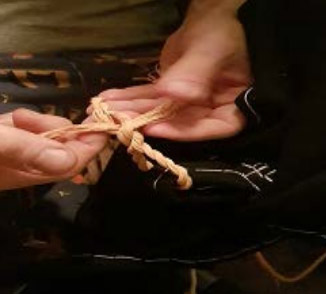
Step 1
The linen thread was cut into lengths twice the length of the final cord with an additional allowance for the length lost in twisting. In this example the pieces were cut to 16 feet, for a cord of approx. 7 feet in length. The lengths were then twisted by hand as per the Flemish twist technique.
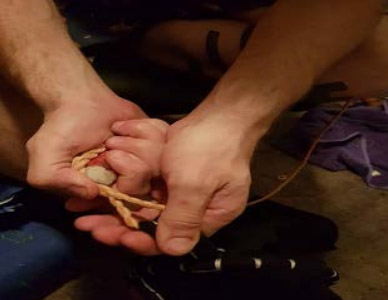
Step 2
The frayed end was then looped through the tap, and spliced back into the cord to form a permanent loop.
Step 3
The frayed end was thinned out towards the end of the splice.
Step 4
The cord was then waxed using a mixture of beeswax softened with animal fat.
Note: Two other smaller cords were fabricated in the same manner to create the drawstrings. The ends of the drawstrings weren’t spliced, but rather tied with an overhand loop.
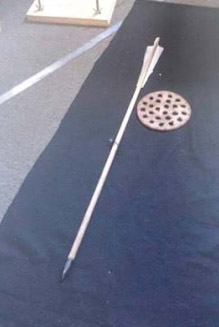
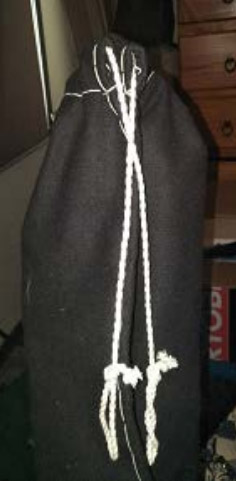
FINISHED PROJECT
CONCLUSION
Things I would have done differently
I would reduce the size of the overlap as it wastes a significant amount of fabric on the internal of the bag.
I would not have scribed the stitch line connecting the holes around the edge of the spacer because, due to the thickness of the wool, the stitching doesn’t lay in the groove.
I would have whip-stitched the spacer into the fabric tube to allow more freedom for it to fold back.
Concluding Notes
The illumination from Froissart’s Chronicles depicts a quiver where the arrows stick out of the end of the bag, whereas the other depictions I have used do not. My quiver has the capacity to act in either way. A possible reason for the arrows protruding from the base of the quiver is to allow for arrows with broad heads to be drawn from the base of the quiver, with the fletching passing through the spacer.
I do not believe there is any way that this could have been made more authentically barring constructing the raw materials the quiver is constructed from.