Six Board Chests
By Master Járnulfr Þórólfsson
This is basically going to be a description of how to do the end panels, really. A six board chest is six rectangular panels, and you can get away with the base, front, back and top being rectangles of the same size, or close to it.
If working with modern sawn plank, you want your endboard to be the width of the plank high, plus around 10 to 12cm extra to make the leg. If you have a table saw, cut as shown in this photo – back and front panels cut-outs almost all the way down to the base with the table saw, leaving a bit of waste to finish the cut with a hand saw later. Then two shallow cuts that don’t go all the way across the base to make the hidden rebate/dado joint into which the base board will socket.

Planing back the modern finish on the dressed planks, because I like a period surface texture.

Planed, and ready to cut away the waste section where the front and back boards will sit.

On what will be the inside, we have to now cut out the waste between the two shallow saw cuts that will make the recess for the base board to fit in.

Cutting away the last bit of the side board cut with a hand saw. Mark it in with a square first.

Cutting.

Cut, planed on the outside, ready to chisel the rebate/dado joint in the end board to take the base board.

Braced against a bench stop, ready to chisel.

Cutting out the rebate for the dado joint.

Smoothing out any high spots after removing most of the waste.

On more period accurate chests, the rebated joint for the base board may include a mortise for a tenon on the base board.

Finished recess for the base board.

Part finished – after rough chiseling out the waste, you’ll have to carefully cut down all the lumps.

I don’t like sanding my medievalish woodwork, as sandpaper is a really recent thing. I prefer to use a scraper on it after planing it.

The scraper is simply a flat plate of relatively soft iron, cut at a bevel, and you run that bevel across a grinder or a file to form a burr on the edge, which then provides a rough surface to smooth the wood. Finer file/grind, finer burr, finer finish, until you’re essentially scraping it down with a fine knife edge for the final finish. Or, if it’s got a nice smooth grain, and your plane is sharp, just leave the hand planed surface.

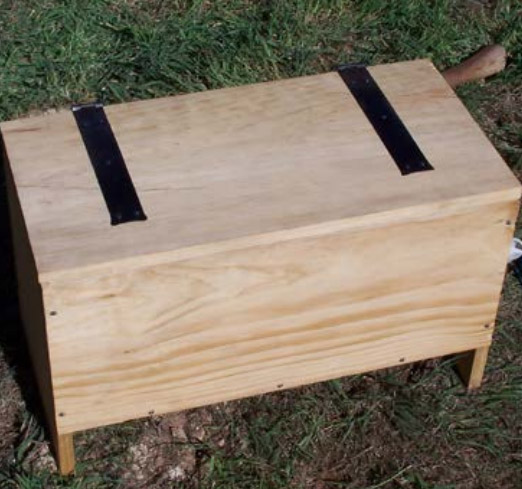
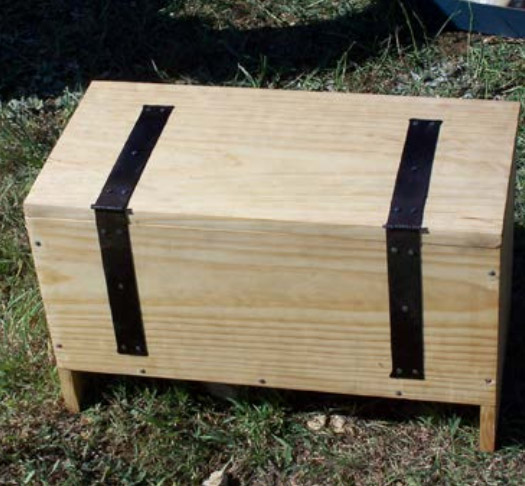
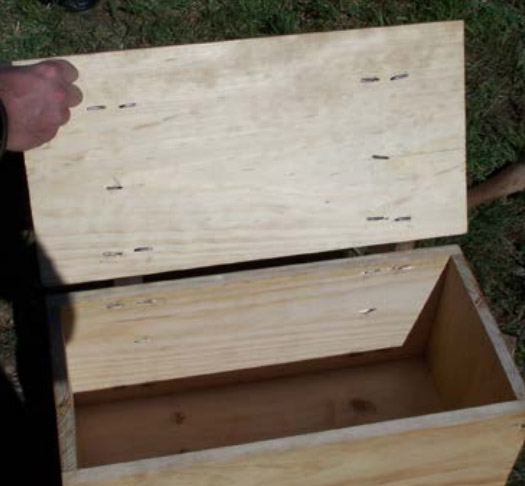
And a finished chest, as the end boards are the hard bit, and the other four are just rectangles, maybe with a bit of a stepped joint if you’re doing some of the Norse versions (also, sloped trapezoids, but let’s get to that later). The base board needs to be narrower than the end boards by the width of the two front and back boards, and slightly shorter (to fit the correspondingly slightly narrower length caused by the depth of the dado joint in the end boards it sits in). Correspondingly, the lid needs to be long enough to cover the two end boards at the top.

Nail them or peg them together. These ones are nailed, with modern jolt heads that I’ve put in a nail header to give a three hammer blow faceted flat head to. Hinges – buy them, make them, recycle them. Plain iron strap hinges are nice, these ones are forged from recycled from old 1880 era wrought strap iron from South Australia.

Hinges are attached by clench nailing – nails go through a pre-drilled hole, end is folded into a staple, and then hammered flat into the wood to hold the hinges in place.

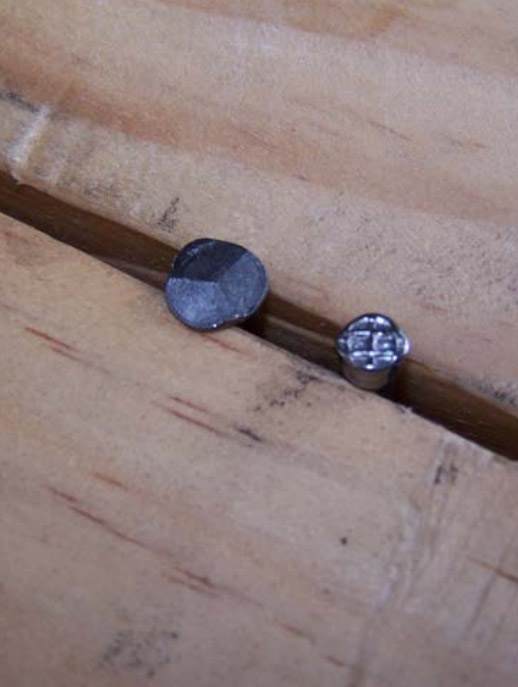
If you don’t have nice medieval nails, just make them: Drill a hole the same diameter as the shank of a modern jolt head nail, in a block of steel (I used a bit of old rail iron bolted to a stump), chamfer the top edge a wee bit, then you oil the nail, drop it in the hole, hit the jolt head three times with a hammer, and it becomes the faceted rosette head seen on the left below. Unmodified jolt head to the right. If you want really big fancy heads, do it with soft iron horse shoe nails.

Master Járnulfr Þórólfsson is a self described “hitty/burny/smelty type” laurel, located in the Shire of Darton.
| zane@paradise.gen.nz |

