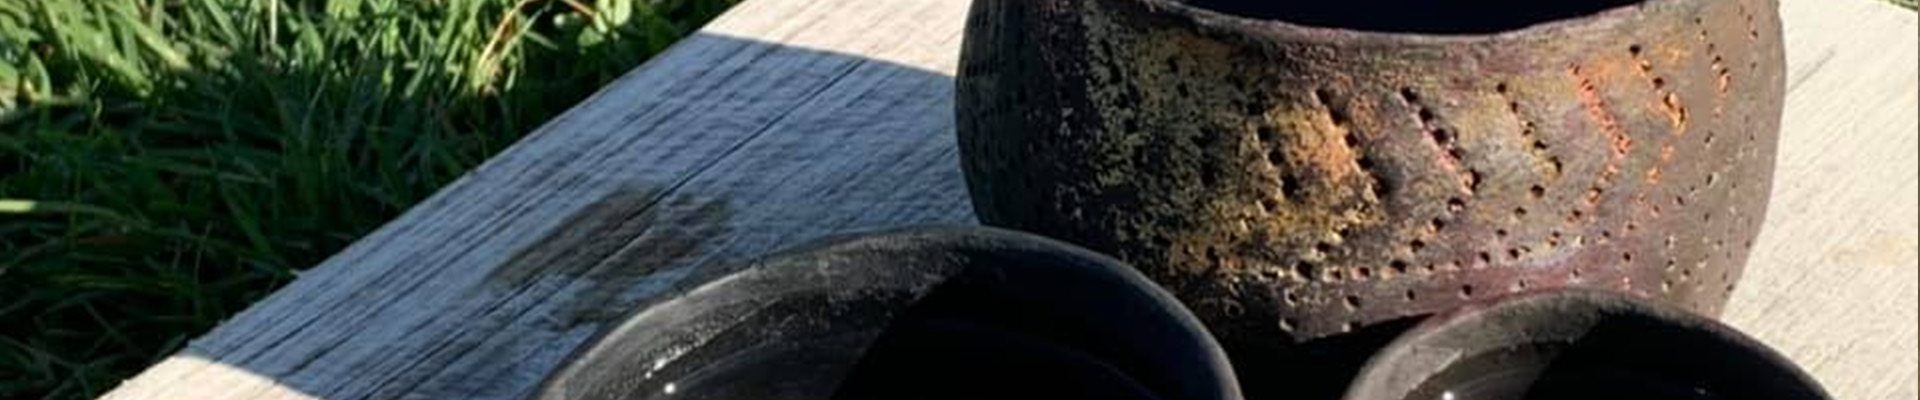
Making a Dark Ages Skillet
Lord Thomas Boardmakere
Edited by Lady Rúna Hundadóttir
Cooking is one of the many activities that sets humans apart from other animals. Since the dawn of man we have been heating food over flame and building tools to help us cook, from flat rocks to the ‘Tefal Harmony PRO titanium non-stick pan’. Over time, these objects have changed in construction materials, but their basic shape and function is easily recognisable. This article will discuss the reconstruction of a long-handled fry pan used to cook over an open fire or hearth in Dark Ages Norway, based on extant examples from 800-1200 AD.
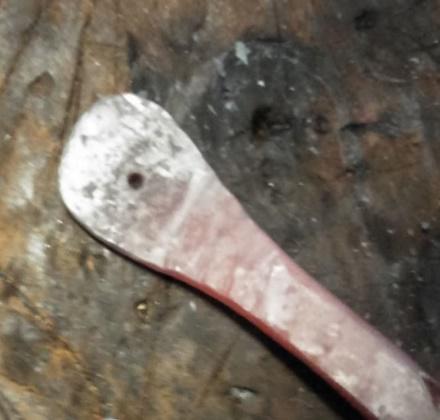
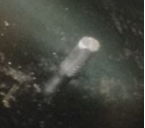
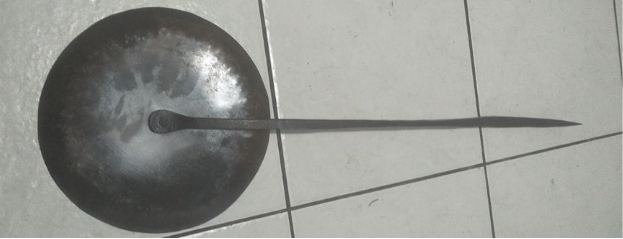
The overall size and handle shape of my pan is based on C16512 from Velo Norway. Particularly, I tried to imitate the shallow ‘S’ sweep that’s forged into the handle, the slight rise above the level of the pan, and the way the handle appears to taper and thicken at the pan end.

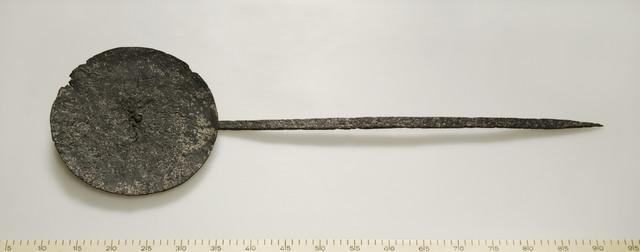
“Panne”, C16512, Kulturhistorisk museum, UiO.
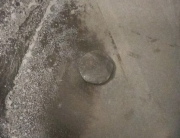
I combined this handle shape with the pan profile from C1757 from Laerdal, Akre, Telemark, Norway. This pan has a more pronounced lip dished around the edge which I felt would make a more versatile implement.

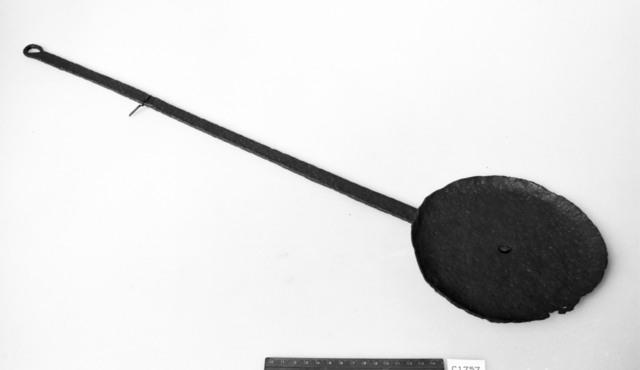
“Steikpanne (etter R430): Diverse gjenstander (gamle glassplater)”, C1757, Arkeologisk museum, UiS, and “Stekepanne av jern”, C1757, Kulturhistorisk museum, UiO.
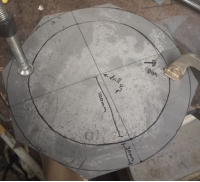
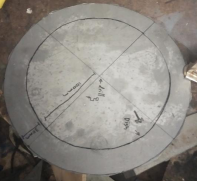
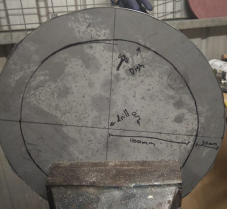
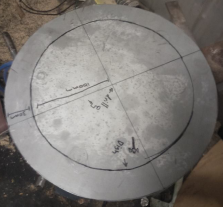
Measurements:
Working from the source photos, I chose to make a pan 260mm in diameter with a 30mm lip, dished 15mm deep. I decided to make the pan 2mm thick as I believed this would give the best balance of heat dispersal, rigidity and weight. The handle was planned to be 700 mm long and 19mm at its widest.
Materials:
- Handle: forged from a 10x10x65mm bar
- Pan: Dished from a 300x300x2mm sheet cut into a 260mm diameter circle. (The particular sheet of steel I obtained for this project was covered in zinc (not galvanized), which was easily removed with sandpaper and then burned off at 900 degrees from a safe distance.) I believe that the original pan would have been flattened from a billet but I don’t have a forge large enough to work that size of a material.
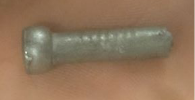
- Rivet: Cut from a 5x100mm bullet head nail.
- Seasoning: Food-safe flaxseed/linseed oil, which is known to have been used on wood products in Dark Ages Scandinavia and is commonly used to treat cast iron today.
The original skillet was made from iron, but being unable to obtain or manufacture authentic Dark Ages iron, I elected to use a modern low carbon steel commonly sold as ‘mild steel’. Mild steel carbon ranges between 0.05-0.25%, making it very malleable and relatively easy to forge. Its maximum forging temperature is 1260 degrees Celsius, which is an orange yellow. I wasn’t too precise with forging temperatures, relying on maintaining a bright orange colour while working. Having a low carbon content means that mild steel doesn’t harden or temper, which is fine for this project as the pan does not require a sharp edge nor does it need to flex. However, this meant parts had to be fairly robust to prevent them being bent or damaged.
Tools:
I used only hand tools for this project, most of which were available in the period.
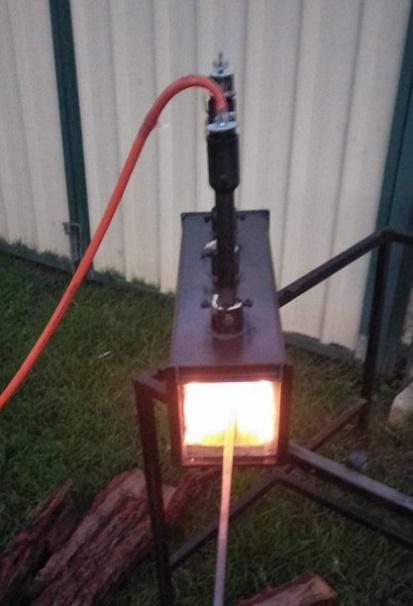
| · Gas forge
· Ballpeen hammer · Hot Cut Tool · Anvil · Measuring device · Centre punch |
· Thinly tapered drift
· Hack saw · Bastard file · Dishing stump · Straight edge · Vice |
· Tongs
· Leather gloves · Rags · Marking tool · Compass · Clamps |
Construction:
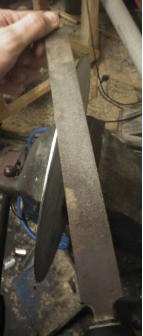
Making the Handle:
- Hot cut iron bar to 65cm by driving the heated bar onto a sharp edge with your hammer. (Here I have used a block splitter for the job.) Between each strike, roll the bar to the next face keep the cut square and deformation uniform.
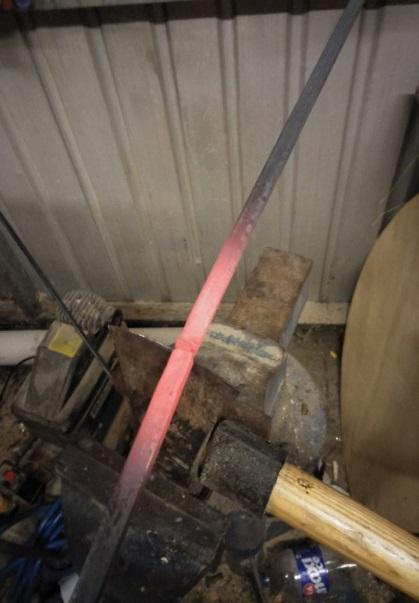
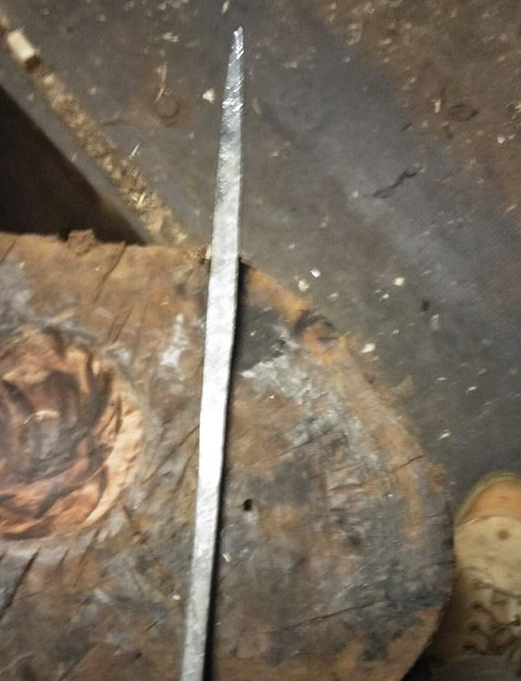
- Draw out one end of the bar to a chiselled tip. Working on the far edge of the anvil will allow clearance to land angled blows on the tapered face, but between every angled blow make sure to roll the piece 90 degrees and land a flat blow to keep the sides square. To prevent cracking be generous with heat and direct the force of each blow back towards the work piece. Once the taper is set, true the work up so the chisel is centred.
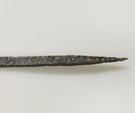
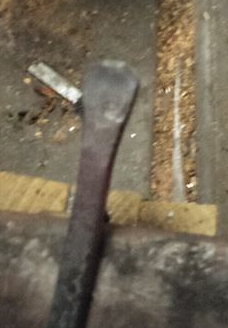
“Panne”, C16512 (zoomed in) Point in progress
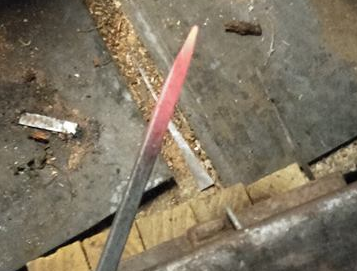
- Trying not to disrupt the tip, create the top profile by walking flat even blows down the work piece, thus thinning and widening it. Any bulges can be trued up by rolling 90 degrees striking them back in. The piece wants curve towards the hammer blows as the material moves – this is easy to correct in later steps but here it gives us a the top and bottom face of the handle. Once happy with the shape, it’s a good idea to cool this area before moving on to prevent bruising.
- Moving to the mid-section, with an isolated heat, start shaping the side profile.
As in Step 3, use flat even hammer blows and pull the piece towards you to walk the hammer along the worked area. This section will need to remain centred so flip the work after every pass. In this section the curve is in the unworked plane and so it has to be deliberately introduced by rounding over a horn or bending on an anvil. The material will thicken inside the curve and thin on the outside so this should be evened out with the hammer. Once this section is to shape, blend it with the former section, then cool.
Side view Top view
5. Once it’s safe to hold, heat the unworked end in the forge. Working on the near edge of the anvil with flat blows, spread the material to create an inch-wide circle. The corners can be tapped to make them round by holding the shoulder at a 45-degree angle on the rounded edge of the anvil or a horn to act as a fuller from the bottom. The flattened section should be flush with top face of piece.
Before rounding After rounding
- To mark the hole, heat the eye section till red hot and initially mark the centre with a punch against the anvil. Once the hole is started, a ‘Hardy Hole’, or in this case a hard wood surface, can be used as a support to drive a narrowly tapered punch through the material. Here I have used a needle file before moving to a 5mm nail to drift the hole larger. Lubricating the punches and drifts with beeswax or petroleum jelly will prevent them fusing with the work. Once hole is to size, massage the rough side of the hole flat using the ball peen hammer. If this overly deforms the hole, re-drift.


Lubricated punch Initial hole Hole cleaned up
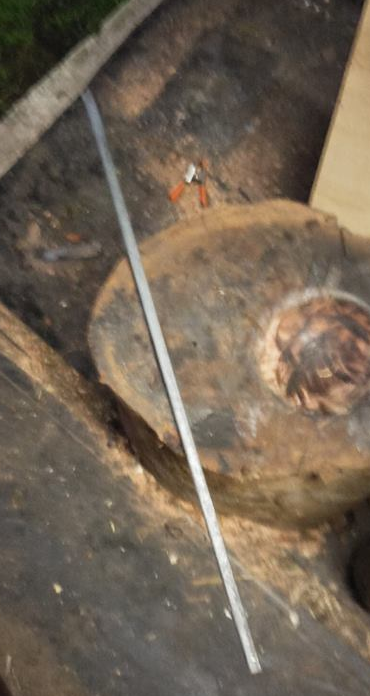
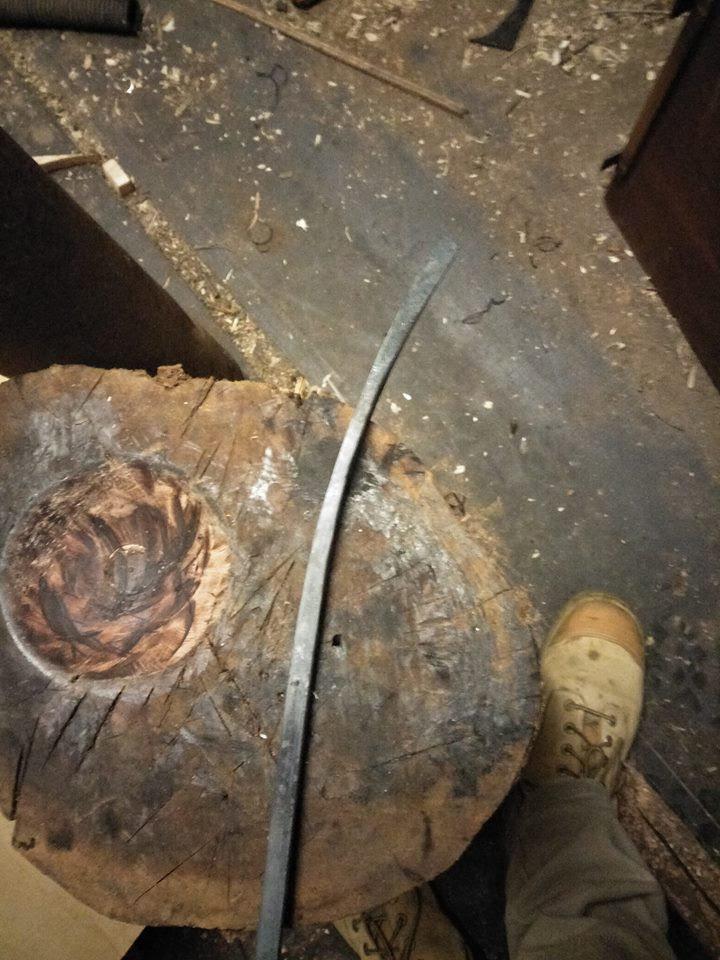
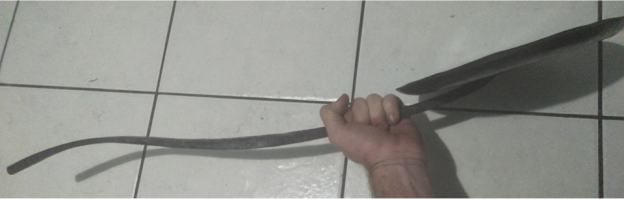
- Now the basic shape has been created, it’s time to do a final pass to true everything up and blend all the curves together. I found my ‘S’ sweep profile in the photos to be too radical so I toned it down in the vice.
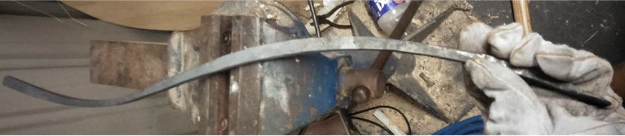
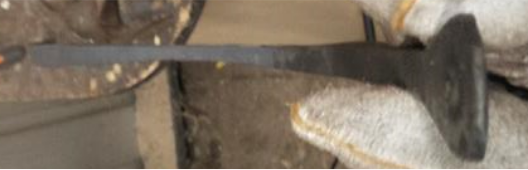
Side view (above) and top view (below) of fully-shaped handle
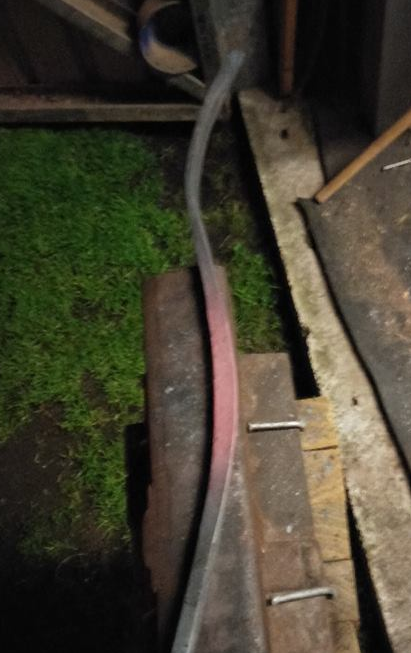
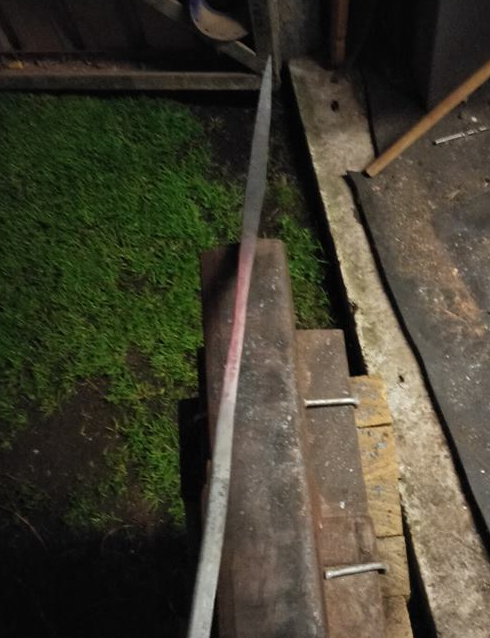
- Season with flaxseed oil to prevent rust. Gently warm handle to about 100 degrees and apply oil with a cloth and continue to warm until oil polymerises. Repeat till a rich black is obtained. Allow to cool and then add a wet oil layer and let dry.
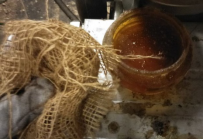
Hemp cloth and oil

Seasoned handle
Making the Pan:
As explained above, in period the pan would have been flattened and dished out of a billet. This would entail a lot less wastage than cutting it out, but I feel it would still have been necessary to clean up with a file and do some trimming at times, so the method below isn’t completely off track.
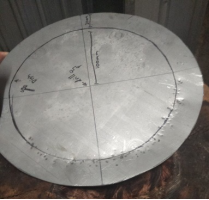
- Find the centre of the plate using by marking diagonally. Then with centre punch. Use a compass on this mark to draw two concentric circles of a 100mm radius and a 130mm radius.
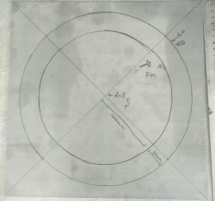
- Clamp to work bench horizontally and use a hack saw to dock the square octagon. Take off the corners as close as you can to the outer circle and rotate the work piece after each cut. Support the work on the corner of the work bench to avoid flex and shudder. Once finished remove the newly created corners to make a hexadecagon.
First round of cuts — Second round of cuts — Third round of cuts
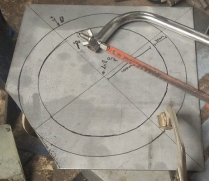
- File and round off any remaining corners until it’s smoothed to the outer line. Rotate the work, focusing on the high spots, then blending them as you go.
- Place the pan blank over the hole in the dishing stump and begin dishing with the ball peen by following the inner circle with closely stacked strikes.Once back to the start, go round again closer to the edge, while holding the pan at 45 degrees to the stump to give the lip a rounded profile. Check rim level by placing upside down on a flat surface. Planish out any large bumps.
- This time the hole can be punched cold, using the center punch and nail against the dishing stump. File bottom side of the hole till flush.
- Use 240 grit sandpaper and burn off last traces of zinc.
I took the chance while the pan was hot to do the first few layers of flax seed oil. This was counterproductive because I had to reheat the rivet in later steps which burnt it off, but you will see the pan partially blacken in the following steps.
Riveting the Skillet:
- Cut nail to 20mm long with the hack saw and file a chamfer on the cut end, this will help with peening the rivet and assembling the piece. Remove any obvious modern markings with file.
- Assemble by sliding the rivet through the bottom of the handle then through the bottom of the pan. Check that it protrudes far enough for a good spread but not so far that it will just bend over before spreading. If the rivet goes wrong it would be a real struggle involving the hacksaw to get it back out for a second try.
- Once in place, heat the rivet with the front of the forge. Then place the bottom of the rivet on the anvil and peen flat using the ball of the hammer. Use firm strikes in a spiral pattern around the top of the rivet until it’s close to flush, then smooth out it flat side of hammer.
Finishing:
Season both top and bottom of pan with flaxseed oil and gentle heat.
I placed the pan face up on the ground to see how the pan sat and found it leaning to one side slightly so I placed it in the handle in the vice and gentle forced it to square by pushing down on the high edge and pulling up on the other.
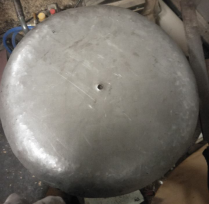
Finished pan (side view)
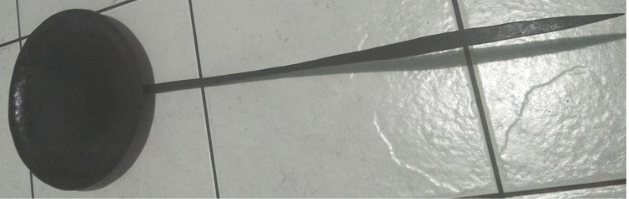
Finished pan (top and bottom view)
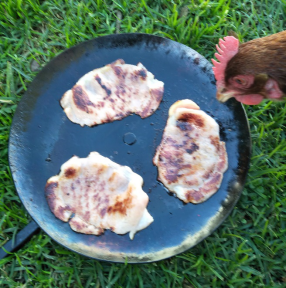
The last thing to do is cook up some tasty eats like bacon and flatbread.
Conclusions:
This project turned out well: it’s not too heavy, but very robust. I wouldn’t want to carry it long distances, but for an object kept next to the hearth and used every day, it’s just built to last.
I can only discuss conjecture on the ‘S’ profile of the handle: it makes sense for clearing the edge of a fireplace or hearth, but I was surprised to find that having a lower centre of gravity makes the skillet pretty easy to balance – it naturally wants to hang level in the hand. That said, the curve in my final product doesn’t quite match the museum piece and if I was to do this project again, I would try to stay more true to the original.


—– Mine —– Original —–
Bibliography
“Panne”, C16512, Kulturhistorisk museum, UiO. Images accessed June 3, 2018, at http://www.unimus.no/photos/khm/198110/?f=html (front view) and http://www.unimus.no/photos/khm/198111/?f=html (back view).
“Stekepanne av jern”, C1757, Kulturhistorisk museum, UiO. Image accessed June 3, 2018, at http://www.unimus.no/photos/khm/50630/?f=html.
“Steikpanne (etter R430): Diverse gjenstander (gamle glassplater)”, C1757, Arkeologisk museum, UiS. Image accessed June 3, 2018, at http://www.unimus.no/photos/am/102790/?f=html.
Historiska Museet (The Swedish History Museum), Mästermyr (SHM 21592) (2011). Accessed June 4, 2018, at http://kulturarvsdata.se/shm/site/html/39216.
Nietfield, D, Heat Colours for Blacksmiths (March 2010). Accessed June 3, 2018, at http://www.blksmth.com/heat_colors.htm.
Total Materia, Classification of Carbon and Low-Allow Steels (November 2001). Accessed June 3, 2018, at http://www.totalmateria.com/articles/Art62.htm.
Ward, C, Woodworking in the Viking Age (December 2005). Accessed June 4, 2018, at http://www.vikinganswerlady.com/wood.shtml.